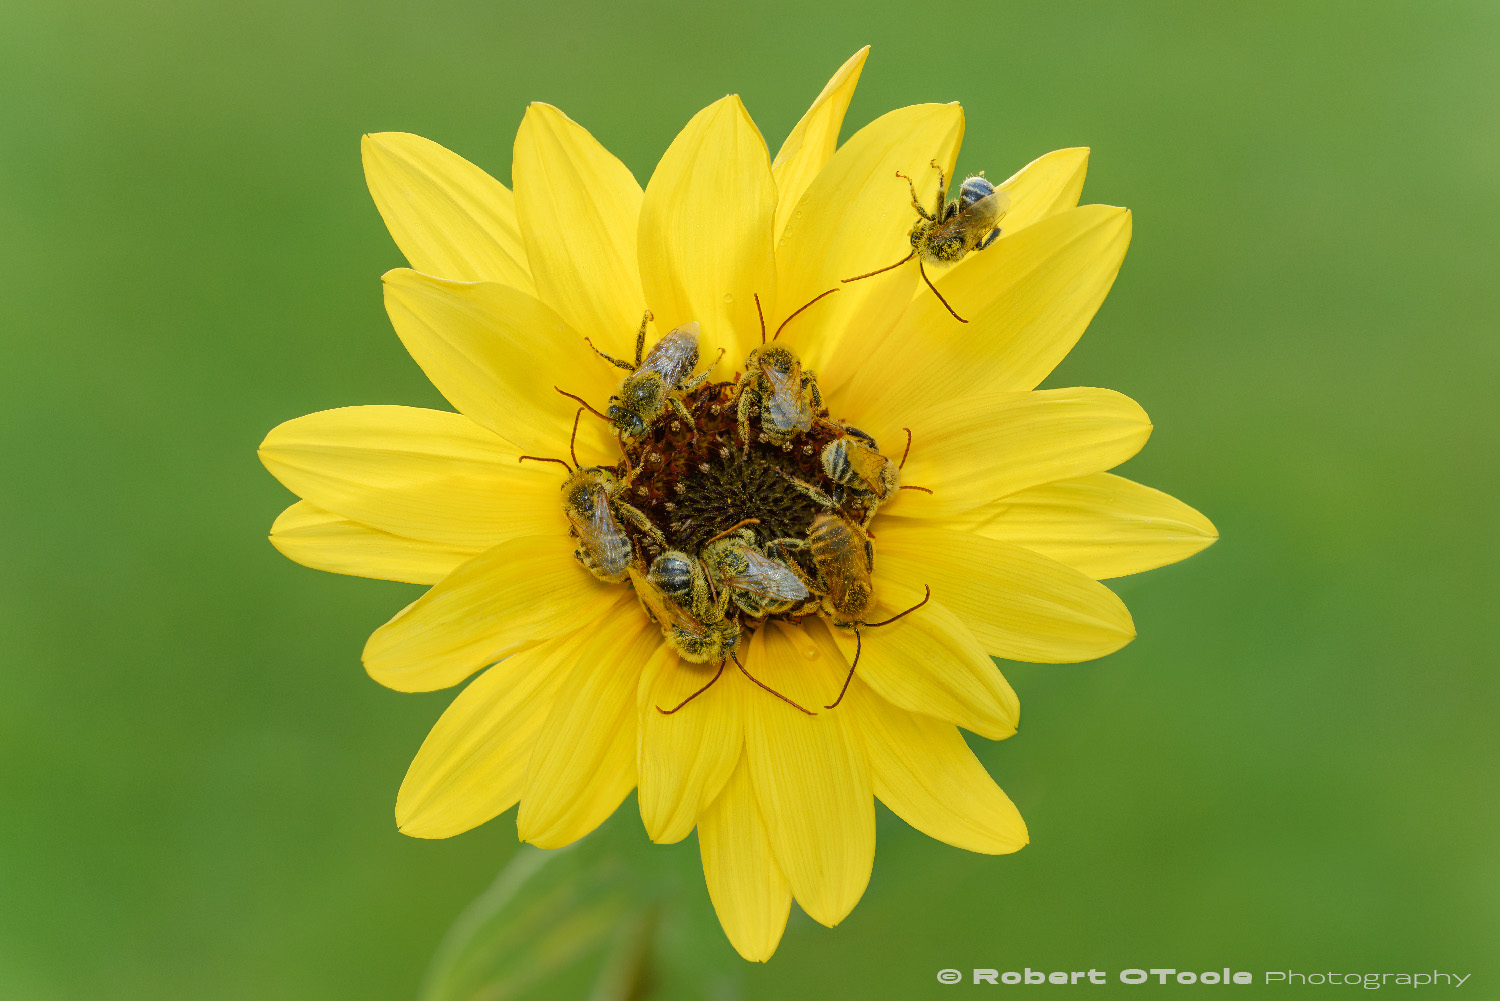
Male long horned bees, Melissodes sp., sleeping together in a sunflower at Madrona Marsh, Torrance California. This final image is made up of 3 images stacked.
Sigma 150mm Macro lens Nikon D810 Single SB-R200 flash with diffuser 1/30s f/8 ISO 100 Acratech Ballhead and carbon fiber tripod.
As I pulled up and opened the door of my SUV, I glanced up, and the first thing I saw, was a cluster of bees on this sunflower. I couldn't pull out my tripod fast enough!
Male long-horned native bees, cluster together overnight, and this will sometimes last until late morning, if the ambient temperatures are chilly enough. I can tell they are all male, since the females have shorter antenna and sleep in an underground nest, only the males cluster like this. Photographing native bees is always my first choice over the much more common european honey bees that most people are familiar with. I find the natives to be much much easier to work with than the non-native honey bees. The natives are never aggressive and are always cool and calm, I never been stung by a native bee in my life.
The long-horned Melissodes sp. bees seem to prefer sunflowers and this year my local photography spot, Madrona Marsh is doing better than ever, and thanks to the rain earlier in the year, Madrona has more sunflowers than I have ever seen there!
For this image I used a single SB-R200 wireless flash and set the shutter speed at 1/30s and my flash to 1/16th power to balance the ambient light and to let some of the warm morning backlight show through in the upper edges of the flower. I chose the 150mm Sigma over a shorter lens to help isolate the flower from the background. Using a tripod made it really easy to shoot multiple images at different focus points in case I would need to stack to get additional depth of field.

100% crop of the image above to give you a look at some of the level of detail in the full size image.
Summer is here, so get out there and look for your native bee neighbors at your local nature park, but make sure you get there early in the AM, and look for the solitary bees that overnighted on sticks, or inside flowers. This kind of behavior is common with native bees all over the US, even Alaska, and in most parts of the world that I have visited.